| This TopTip shows you just how easy it is to install WordPress onto your website with MyWebToNet !
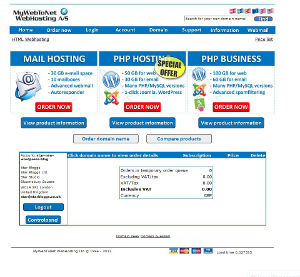
Step 1: After checking your domain name is available (see TopTip 2) Login to your account in the bottom left hand ‘Login’ section of the Product Menu Page. |
|
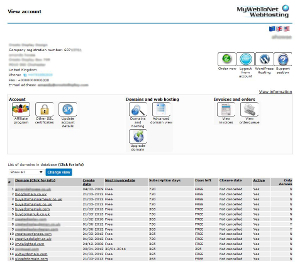
| Step 2: On the ‘View Account’ Page, select the domain name on which you would like to install WordPress by clicking directly on the domain. | |
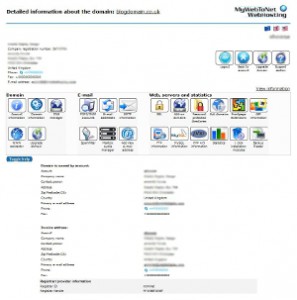
| Step 3: Select the ‘1 click install Modules’ tab. on the ‘Detailed information about the domain’ page. | |
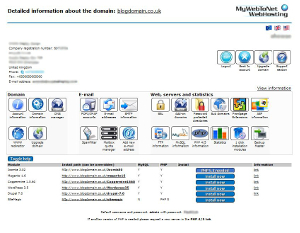
| Step 4: Choose the WordPress version your require. This will be either WordPress 3 or WordPress 3.5. Click the ‘Install now’ button for the relevant WordPress version. | |
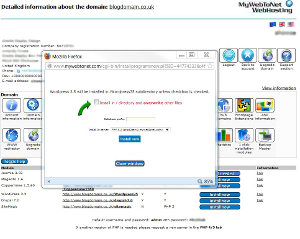
| Step 5: Ensure the check box is ticked on the page that pops up, to install the WordPress directly into the main directory of your website (or WordPress will be installed in a subdirectory on your site).This is important to note if you already have any files on your domain as they will be overwritten if the check box is not ticked. Press the ‘install now’ button on the pop up box. | |
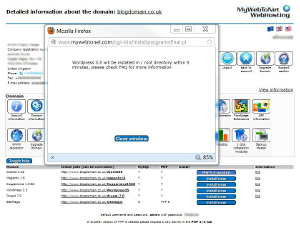
| Step 6: As the pop up page advises you when you press the ‘install now’ button: your WordPress installation is being processed and will be ready in 5 minutes. Select ‘Close window’ | |
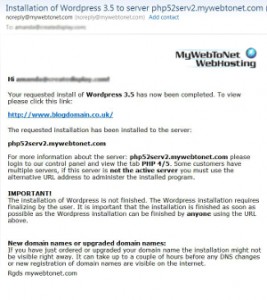
| Step 7: You will receive an email in your in box confirming your WordPress installation is ready to use. Just click on the link to finalise the installation of your new WordPress site. |
TopTip 3: How to Install WordPress for your Website with MyWebToNet
Posted in createwordpress

