
As a new customer, the first stage is to select your domain, create a new account, process your order and then you are ready to go with your new website! This post shows you how to do this with MyWebToNet easily step by step.
See our next post for how to install WordPress onto your new website.
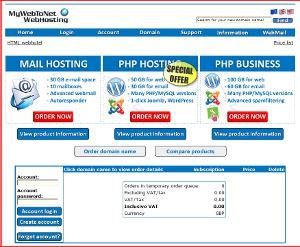
 MyWebToNet home page |
|
| The first step in creating your MyWebToNet WordPress site is to go to the home page http://www.mywebtonet.com/ You will see the above home page. To begin click the red ‘Order Now’ button. | |
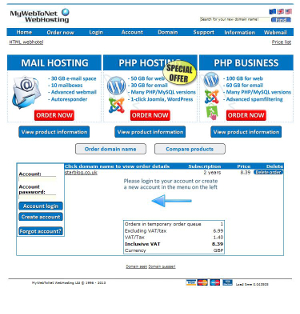
 MyWebToNet Product Page |
|
| Then for Step 2 you will see this screen. Select the PHP Hosting ‘Order Now Button – It’s the one in the middle that’s on special offer. | |
 MyWebToNet Select Product and View Order Page |
|
| Step 3 is ‘Select Order Type’ in the box at the bottom of the page. Type your domain name and select the type of domain you require. Select your Add-On products as required. Then click the ‘View Order’ button. | |
 MyWebToNet View Order with Prices Page |
|
| Step 4 requires you to check your domain name and product selection is correct. Check the amount and price. Then press the big ‘Accept Order’ button. | |
 MyWebToNet Accept Order Product Login Page |
|
| Step 5: After selecting ‘Accept Order’ you will be back at the Create Product New Offer Page so you can choose ‘Create Account” next to proceed with your order. | |
 MyWebToNet New Account Set Up Page |
|
| Step 6: In the ‘Create New Account’ page enter your contact details and your numbers as requested and choose how you heard about MyWebToNet. Then select ‘Create Account’ | |
 MyWebToNet New Account Created Page |
|
| Step 7: Here you can see a summary of your New Account Information. Check it is correct and select ‘Back to Ordering Page’ | |
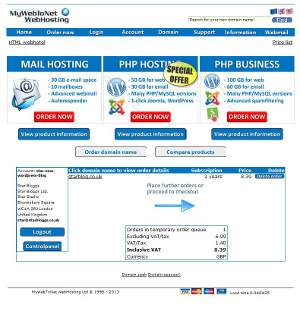 MyWebToNet Place Further Orders or Proceed to Checkout Page |
|
| Step 8: Your new account details now appear in the lower box. Select the red Order Now button to proceed with your order. | |
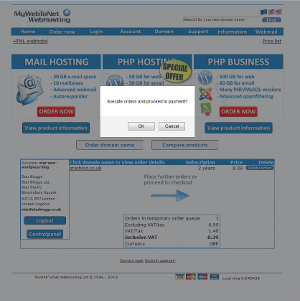 MyWebToNet Order Proceed To Payment |
|
| Step 9: When you select ‘Place further orders or proceed to checkout’ Click OK on the ‘Execute orders and proceed to payment’ box that appears. | |
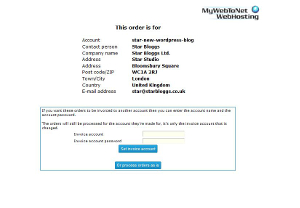 MyWebToNet Order is for Page |
|
| Step 10: ‘This order is for’ page gives you the option to assign this order to another account previously set up for invoicing or process the order as it is. Select one of the two options here as required. | |
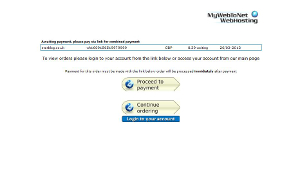 MyWebToNet Proceed to Payment Page |
|
| Step 11: It will take you straight to ‘Proceed to payment’ and then you are set up and you are ready to go with your website! | |